Free U.S. shipping on orders $75+60-day hassle-free returnsFind your perfect fitCrafted with premium compression fabricFree U.S. shipping on orders $75+60-day hassle-free returnsFind your perfect fitCrafted with premium compression fabricFree U.S. shipping on orders $75+60-day hassle-free returnsFind your perfect fitCrafted with premium compression fabric
The Sizing Guide
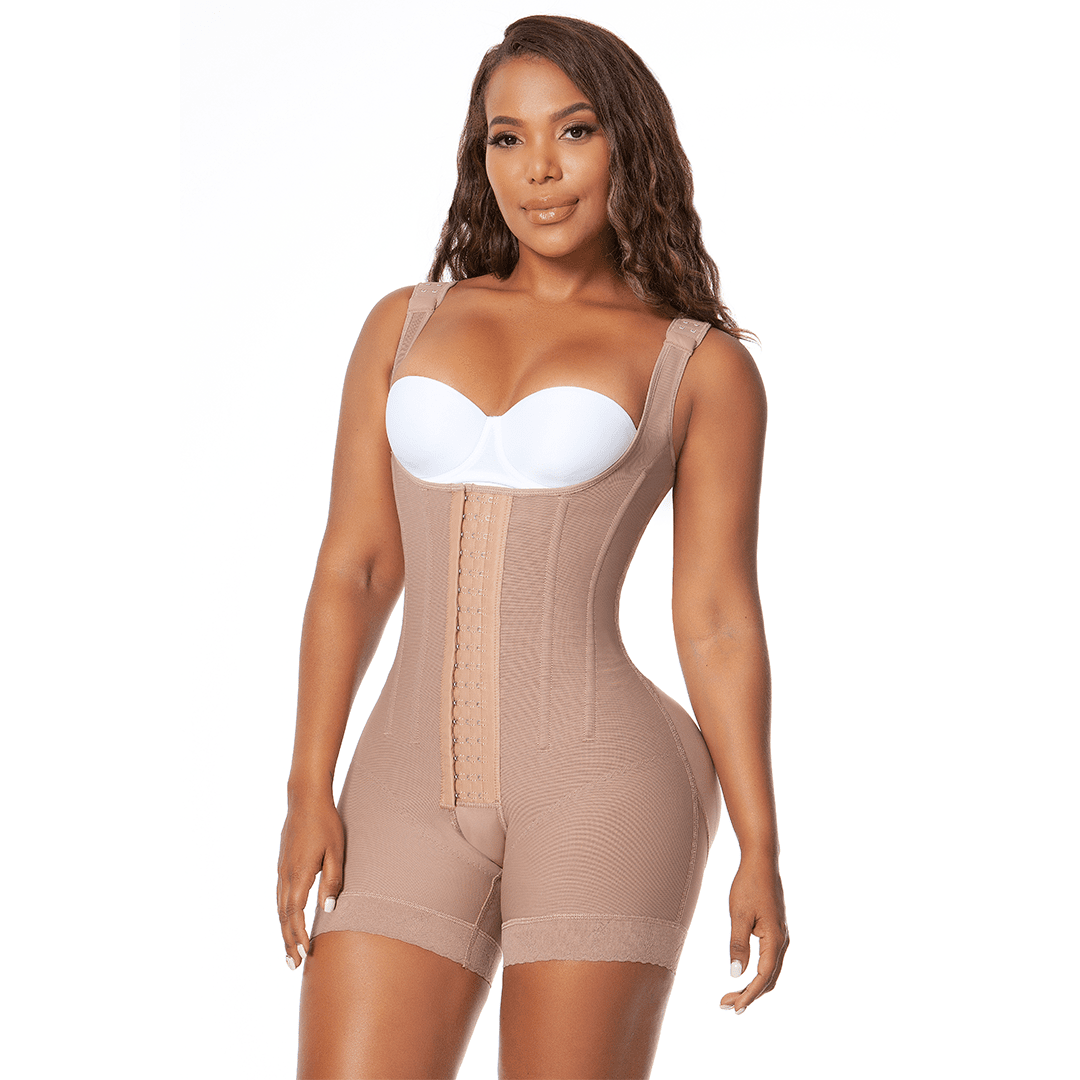
Find the size your body actually needs.
The right shapewear size is essential for comfort, support, and real results — whether you're wearing it daily or recovering from a procedure. This guide walks you through exactly how to measure so you can shop with confidence.
Too tight and you'll deal with rolling, pressure marks, and restricted movement; too loose and you lose the compression that actually delivers results.
Whether you're wearing it daily or post-surgery, the right size means your body gets the support it needs where it needs it most — making every hour in your shapewear count.
No rolling, bunching, or pressure marks
Compression that supports — never restricts
Confidence under any outfit, all day long
Before you begin
A few notes on getting it right.
i.
Use a soft tape
Wear light clothing, or measure directly over undergarments for the most accurate fit. Avoid measuring over thick fabric or a regular bra.
ii.
Stand straight, breathe normally
Feet together, shoulders relaxed. Don't hold your breath or pull the tape too tight — it changes the read.
iii.
Snug, never tight
You should be able to slip one finger under the tape. Small adjustments in how you measure make a big difference in fit.
The 5 steps
Measure, in five steps.
A soft tape, a mirror, five minutes. That's all you need.
Step 01
Measure your waist
Wrap the soft tape around the narrowest part of your waist — typically 1–2 inches above your belly button. Keep it snug, but loose enough to slip one finger underneath.
Stand straight, exhale naturally, and take the measurement. Pulling too tight leads to sizing down, which affects how your shapewear fits and performs.
Tip: most people fall 1–2" above the belly button.
Step 02
Measure your hips
Wrap the tape around the fullest part of your hips and glutes, keeping it parallel to the floor — usually 7–9 inches below your natural waist.
Snug, not tight. Don't pull in — you want an accurate measurement, not a smaller number.
Tip: feet together, weight evenly distributed.
Step 03 · Optional
Measure your bust
Wrap the tape around the fullest part of your bust, keeping it parallel to the ground and snug but not tight.
Only required for full-body shapewear. If you're sizing a waist or lower-body style, you can skip this step.
Optional — full-body styles only.
Step 04
Measure your torso length
Measure from the top of your shoulder straight down to your lower abdomen, stopping just below the navel. Especially important for long-torso or post-surgical garments.
If your torso falls between sizes, size up to ensure full coverage and avoid rolling or bunching at the hem.
Tip: between sizes? Size up for coverage.
Step 05
Compare with the size chart
Compare your measurements against the chart on each product page. Always go by the largest measurement — if your hips are medium but your waist reads small, choose medium.
Between two sizes? Size up for everyday wear, or size down for a firmer post-surgical compression fit.
Rule of thumb: largest measurement wins.
Body shape guidance
Knowing your shape saves you from returns.
A garment designed for a curvier frame performs differently than one cut for a straighter silhouette. Pick yours.
Pear shape
Hips fuller than bust.
Your hips and thighs carry more volume than your waist, so size up to fit your hips — you can always adjust compression at the waist. Look for flexible hip panels and firm waist banding.
Look forFlexible hip panels · firm waist band
Apple shape
Volume around midsection.
Look for full tummy-control panels and firm back support — these features work together to smooth and redistribute the midsection evenly. Avoid styles with minimal front coverage.
Look forHigh-waist or full-body · tummy panels
Hourglass shape
Bust ≈ hips, smaller waist.
Your bust and hips measure close to the same width with a noticeably smaller waist — a proportioned frame that works with nearly every shapewear style available.
Look forWaist-cinching · full-body designs
Rectangle shape
Waist ≈ hips, straighter line.
Built-in waist compression and hip-shaping panels work well to create the curves you want. Look for structured boning or reinforced waist panels for definition where you need it most.
Look forStructured boning · reinforced panels
Quick fit estimate
First, choose your line.
Each line is built for a different fit. Pick the one you're shopping — we'll size you up next.
Compression level
Recommended size
—
Between sizes? Size up.
Your measurements are outside this range. Try another brand.
Always size up. A slightly looser fit is more comfortable and safer, especially for post-surgical use. Choose the smaller size only if your measurements fall very close to the lower size and you specifically want firmer compression.
No. Shapewear is sized by body measurements, not clothing brands. Always measure your waist, hips, and bust before ordering — clothing sizes vary too much across brands to be reliable here.
Yes — swelling after surgery is normal and will affect which size works best in those first weeks. Many start with a Stage 1 designed for swollen tissue, then transition to Stage 2 as swelling reduces. Always follow your surgeon's recommendations first.
Snug and firm — but you should be able to breathe deeply and move without restriction. If you notice numbness, marks that don't fade, or you can't take a full breath, size up. Compression that's too aggressive works against you, not for you.
You're ready
You've got your measurements. Now find the fit.
Browse by size, compression level, or recovery stage. Whether you need everyday shaping or post-surgical support, every option is built to deliver real results from day one.